Comprehensive Guide to Fragging Soft Corals
Soft corals are among the most common and beginner-friendly corals for reef aquariums. Their relatively fast growth and ability to thrive in various water conditions make them ideal for propagation. Fragging soft corals is a simple and rewarding process that allows hobbyists to multiply corals, share them with others, or manage coral growth within their reef tanks.
What is Coral Fragging?
Coral fragging involves cutting or dividing corals into smaller pieces, called frags, which will grow into new colonies. Soft corals are generally more flexible and resilient than hard corals, making them easier to frag. The process is similar to pruning a plant—cutting off sections to allow new growth while promoting a healthier, more manageable reef tank.
Why Frag Soft Corals?
Fragging soft corals has several benefits:
- Propagate your corals: Fragging allows you to expand your coral collection or share it with others.
- Sell or trade frags: Many hobbyists sell or trade coral frags within the reefing community, helping to spread unique and rare species.
- Control coral growth: Some fast-growing soft corals can overrun a tank, competing for space and light. Regular fragging helps maintain a balanced reef environment.
Materials Needed for Fragging Soft Corals
- Sharp scissors or coral shears
- Razor blade or scalpel
- Frag plugs or small pieces of live rock
- Super glue gel or reef-safe epoxy
- Rubber gloves (optional, for handling zoanthids or sensitive skin)
- Toothpicks or rubber bands (optional)
- Container of tank water (to hold frags temporarily)
- Iodine-based coral dip (optional, for frag recovery and infection prevention)
Step-by-Step Guide to Fragging Soft Corals
Step 1: Choose a Healthy Parent Coral
The first and most important step is to choose a healthy coral for fragging. A coral that is thriving in your tank will recover more quickly from fragging. Look for corals with good polyp extension, vibrant color, and no signs of stress. Some popular soft corals to frag include:
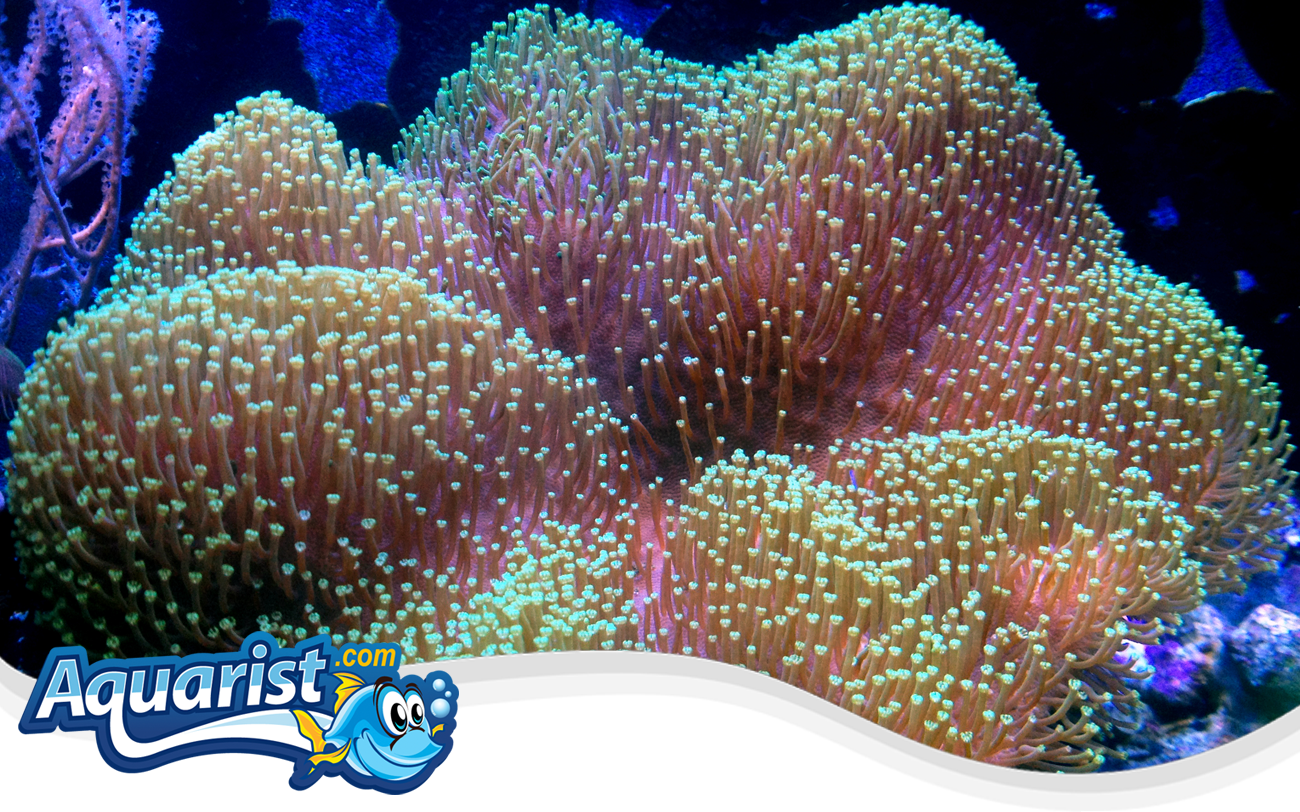
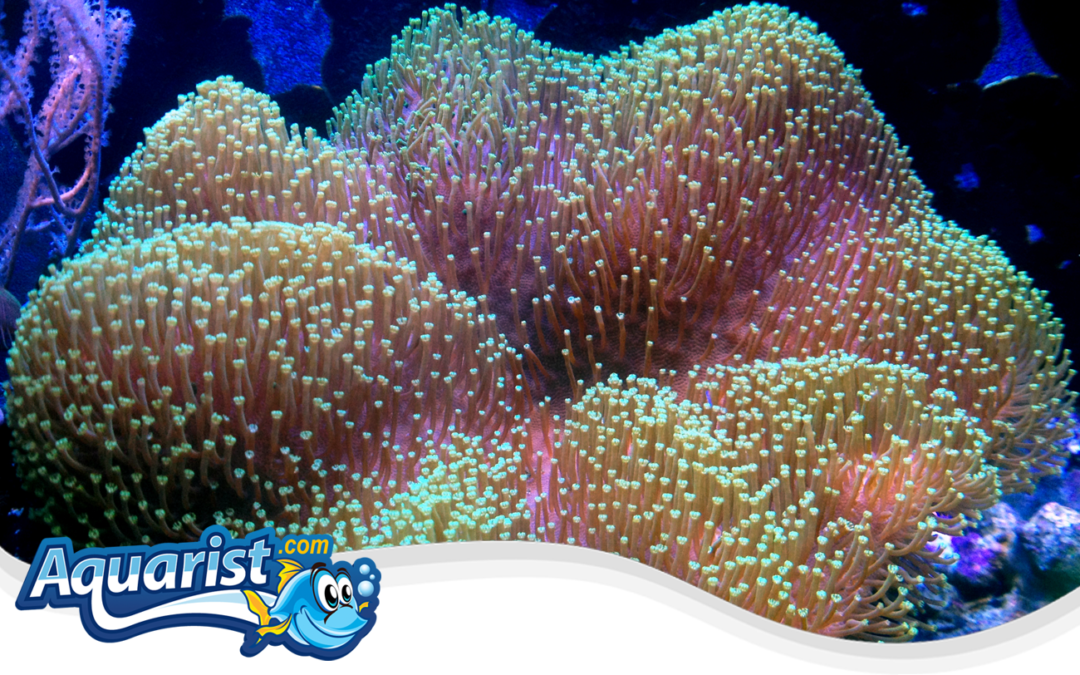
- Leather corals (Toadstool, Finger Leather)
- Zoanthids (Zoas)
- Green Star Polyps
- Mushroom corals (Ricordea, Discosoma)
These corals are generally forgiving when it comes to fragging and will usually recover quickly.
Step 2: Prepare Your Workspace
Set up a clean and organized workspace where you can comfortably handle your coral and tools. It’s best to work in a well-lit area. Keep a container filled with water from your tank nearby to place frags immediately after cutting. If using a coral dip, prepare the dip solution in a separate container according to the product’s instructions.
Step 3: Make the Cut
Using sharp coral shears, scissors, or a razor blade, make a clean cut on the coral. For branching corals like leather corals, cut a portion of a branch or the edge of the cap. For encrusting corals such as zoanthids or green star polyps, you may need to scrape a piece of the mat along with some substrate.
Important: When cutting, aim for clean, precise cuts. Avoid cutting through the coral’s central stalk or base, as this is where the coral’s energy is most concentrated.
Step 4: Attach the Frag to a Plug or Rock
Once you have cut your frag, it's time to attach it to a frag plug or a small piece of live rock:
- Use super glue gel or reef-safe epoxy to attach the frag to the plug or rock. Apply a small amount of glue and press the frag gently against the surface for a few seconds.
- If the coral is too slimy to attach easily (as can happen with mushrooms), place the frag in a container with rubble and allow it to attach naturally.
- Alternatively, you can use toothpicks or rubber bands to hold the coral frag in place until it attaches by itself.
Step 5: Heal and Acclimate the Frag
Once the frag is attached, return it to your tank or place it in a frag rack in a low-flow, moderate-light area of the tank. Soft corals generally heal quickly, but it’s crucial to minimize stress by providing ideal conditions for recovery.
If you are using an iodine-based coral dip, gently dip the frag for 5-10 minutes to promote healing and prevent infection before placing it in the tank.
Step 6: Monitor the Frag’s Progress
Over the next few weeks, monitor the frag for signs of attachment and growth. Soft coral frags typically begin growing new polyps and encrusting the plug or rock within a few weeks. During this time, watch for any signs of stress such as tissue recession, discoloration, or excessive shrinking.
If the frag shows signs of stress, try moving it to an area with lower light or less flow until it recovers. Some soft corals may take longer to acclimate, but most will eventually adapt and thrive.
Pro Tips for Successful Fragging
- Use sterilized tools: Clean your scissors or blades with alcohol or rinse them in hot water before use to prevent infection.
- Frag healthy corals: Ensure the parent coral is in good health before fragging. A stressed or diseased coral will have a harder time recovering.
- Give your frags space: Place frags in a dedicated frag tank or rack to minimize competition and provide the right conditions for healing.
- Wear gloves: If you're fragging Zoanthids or other corals that may contain toxins, wearing gloves can protect your skin.
Conclusion
Fragging soft corals is an exciting and straightforward way to expand your coral collection, manage coral growth, and share frags with fellow hobbyists. By following the steps in this guide and maintaining a healthy reef environment, you can ensure that both your parent coral and fragged pieces thrive. As you become more experienced, you'll find that fragging a variety of soft corals becomes easier and more rewarding.

